Did you know that you can grow vibrant, nutrient-dense vegetables 30% to 50% faster than traditional gardening, all while using 90% less water? It sounds like science fiction, but it’s the reality of hydroponics. For many aspiring urban gardeners, the dream of a lush vegetable patch is often crushed by the reality of limited backyard space, poor soil quality, or back-breaking weeding. We’ve been conditioned to believe that plants need dirt to thrive, but the truth is, soil is merely a reservoir for nutrients.
The challenge most beginners face is the “black thumb” syndrome—overwatering, underwatering, or battling soil-born pests that ruin a harvest before it begins. Hydroponic farming serves as the ultimate solution, removing the unpredictable variables of nature and giving you total control over your food. In this guide, we will break down the core science of soil-less growing, explore the best systems for your home, and provide a 5-step roadmap to harvesting your first batch of home-grown greens.
Understanding Hydroponic Farming: Key Concepts and Importance
At its simplest level, hydroponics is the method of growing plants in a water-based, nutrient-rich solution. Instead of searching through vast amounts of soil for minerals, the plant’s roots are directly bathed in everything they need.
Think of it like this: traditional gardening is like a plant having to walk miles to a buffet through a crowded forest (the soil). Hydroponics is like having the buffet delivered directly to the plant’s front door via room service. Because the plant doesn’t have to expend energy growing massive root systems to find food, it puts all that “saved” energy into growing bigger leaves, tastier fruits, and stronger stems.
While the technology feels modern, the concept dates back to the Hanging Gardens of Babylon. Today, it is the backbone of sustainable agriculture. By controlling the environment—usually indoors or in a greenhouse—you eliminate the need for harsh chemical pesticides and bypass the limitations of local climate. Whether you live in a tiny city apartment or a snowy tundra, hydroponics makes “seasonal” eating a thing of the past.
Why It Matters: The Top Benefits of Hydroponic Farming
Switching to a soil-less system isn’t just a hobby; it’s a lifestyle upgrade with significant personal and environmental gains.
- Massive Water Conservation: In a world facing increasing droughts, hydroponics is a hero. Because the water in these systems is recirculated and reused, it consumes a fraction of the water required for a traditional tilled field.
- Space Efficiency: You can grow “up” instead of “out.” Vertical hydroponic towers allow you to grow 20+ plants in the footprint of a single dinner plate, making it perfect for balconies and kitchens.
- Total Nutrient Control: You are the chef. By adjusting the minerals in your water, you can actually increase the vitamin content and flavour profile of your kale, basil, or strawberries.
- Zero Weeding & Fewer Pests: No soil means no soil-borne diseases and, most importantly, no weeds. You’ll never have to spend a Saturday morning pulling crabgrass again.
Pro Fact: NASA has been researching hydroponics for decades as a way to feed astronauts on Mars. If it can grow in the vacuum of space, it can definitely grow in your spare bedroom!
How to Get Started: A Practical Guide for Beginners
Starting your first “farm” doesn’t require a PhD. Here is a streamlined 5-step plan to get your first seeds sprouting.
Step 1: Choose Your System
For beginners, I recommend the Kratky Method or Deep Water Culture (DWC). These are “passive” or simple active systems where the plant sits in a net pot above a reservoir of nutrient water. They have fewer moving parts and are very forgiving.
Step 2: Select Your Growing Medium
Since we aren’t using soil, you need something to hold the plant upright. Clay pebbles (LECA), Coco Coir, or Rockwool are the gold standards. They provide support while allowing air to reach the roots.
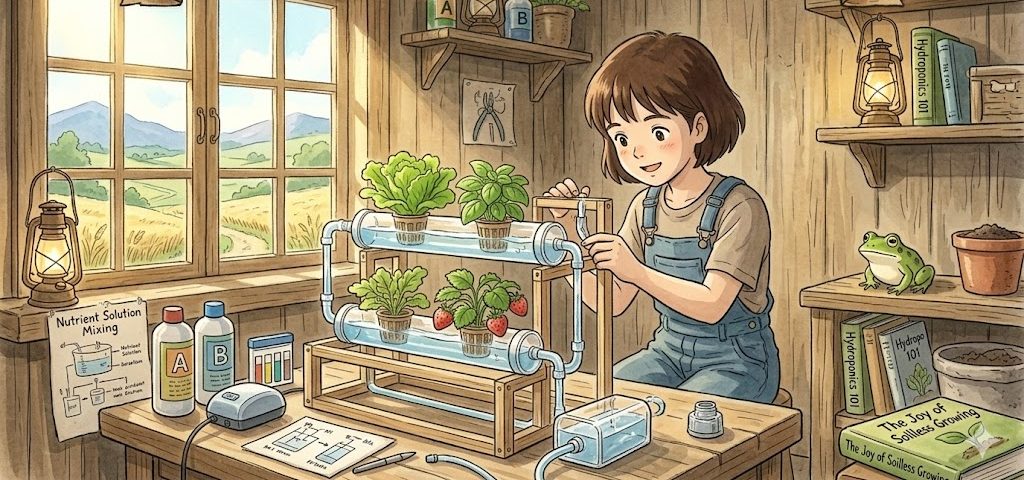
Step 3: Mix Your Nutrient Solution
Purchase a high-quality, liquid hydroponic fertilizer. Follow the bottle’s instructions to mix it with filtered water. This “tea” contains the nitrogen, phosphorus, and potassium your plants crave.
Step 4: Manage Your Lighting
If you aren’t placing your system in a sun-drenched window, you’ll need LED Grow Lights. Position them about 6–12 inches above your plants and keep them on for 14–16 hours a day.
Step 5: Monitor and Harvest
Check your water levels weekly. As the plants “drink,” the water level will drop. Top it up with fresh pH-balanced water. In just 4–6 weeks, your leafy greens should be ready for the salad bowl!
Beginner’s Tip: Always check your water’s pH level. Plants can only “eat” if the water is slightly acidic (between 5.5 and 6.5). If the pH is off, your plant will starve even if the water is full of nutrients!
Overcoming Challenges and Looking into the Future
While hydroponics is efficient, it isn’t without hurdles. The most common challenge is Electricity Dependency. If you use a system with pumps and the power goes out, the roots can dry out quickly. Investing in a small battery backup or choosing a passive system like the Kratky method can mitigate this risk. Another hurdle is Algae Growth; if light hits your water reservoir, algae will bloom. Simply ensure your water containers are opaque (not clear) to keep things clean.
Looking ahead, the future is Smart Hydroponics. We are seeing the rise of AI-integrated sensors that text your phone when your plants need more nitrogen or when the water is too warm. As urban populations grow, “Farm-to-Table” is becoming “Room-to-Table,” reducing the carbon footprint of our food to almost zero.
Conclusion
Hydroponic farming at home is more than just a way to grow food; it’s a way to reconnect with nature through the lens of modern efficiency. By removing the mess of soil and the unpredictability of weather, you empower yourself to produce fresh, organic, and delicious crops year-round.
Your Task: Start small. Grab a wide-mouth glass jar, a net pot, and some basil seeds this weekend. Set up a simple Kratky jar on your windowsill and watch the magic of water-grown life unfold.
The future of food is in your hands—and it’s looking greener than ever.
Frequently Asked Questions (FAQs)
1. Is hydroponic food as healthy as soil-grown food? Yes! In many cases, it’s even healthier. Because you control the exact minerals the plant receives, hydroponic produce often has equal or higher vitamin and antioxidant levels compared to grocery store produce.
2. Can I grow any plant hydroponically? Technically, yes, but some are much harder. Beginners should stick to leafy greens (lettuce, spinach) and herbs (basil, mint). Large root vegetables like carrots or potatoes require specialized setups that are more complex.
3. Does it smell bad? Not at all. A healthy hydroponic system should smell like fresh rain or nothing at all. If there is a bad smell, it usually means there isn’t enough oxygen in the water or root rot has set in—both of which are easy to fix.
4. Is it expensive to start? You can start a DIY “Kratky” jar for less than £15. While professional “Turn-key” towers can cost hundreds, a simple bucket and some nutrients are very budget-friendly for any beginner